3. Electrical Wiring Installation Process
Step 1: Planning and Designing the Wiring Layout
- Determine Power Requirements: Assess the power needed for each area of the house or building. This includes calculating the total number of circuits, outlets, and electrical appliances that need to be powered.
- Decide on Circuit Breakers: Choose the appropriate size of breakers for each circuit (15-amp or 20-amp for most residential circuits).
- Wire Gauge: Select the appropriate wire gauge. The larger the gauge number, the smaller the wire. Common sizes include 12-gauge for 20-amp circuits and 14-gauge for 15-amp circuits.
Step 2: Turn Off the Power
Before starting any work on electrical wiring, always turn off the power at the main circuit breaker to prevent electrical shocks or accidents.
Step 3: Install Electrical Boxes
- Mount electrical boxes where outlets, switches, and other electrical devices will be located.
- Use stud finders to locate the framing studs inside the walls to ensure proper placement.
Step 4: Run the Wiring
- Route the Wiring: Run wires from the service panel to each electrical box or outlet. Depending on the type of wiring (e.g., Romex or conduit), the method of installation will vary.
- Drill Holes in Studs: If needed, drill holes in the studs to run wires through. Ensure the holes are large enough to avoid damaging the wires.
- Leave Extra Wire: Leave extra length at the ends of the wires to allow for easy connection to devices or the circuit breaker.
Step 5: Make Connections
- Connect Wires: Connect the wires to outlets, switches, and other devices.
- Hot (Black) to the brass or gold screw.
- Neutral (White) to the silver screw.
- Ground (Green/Bare) to the green screw.
- Wire Nuts: Use wire nuts to join wires together inside junction boxes.
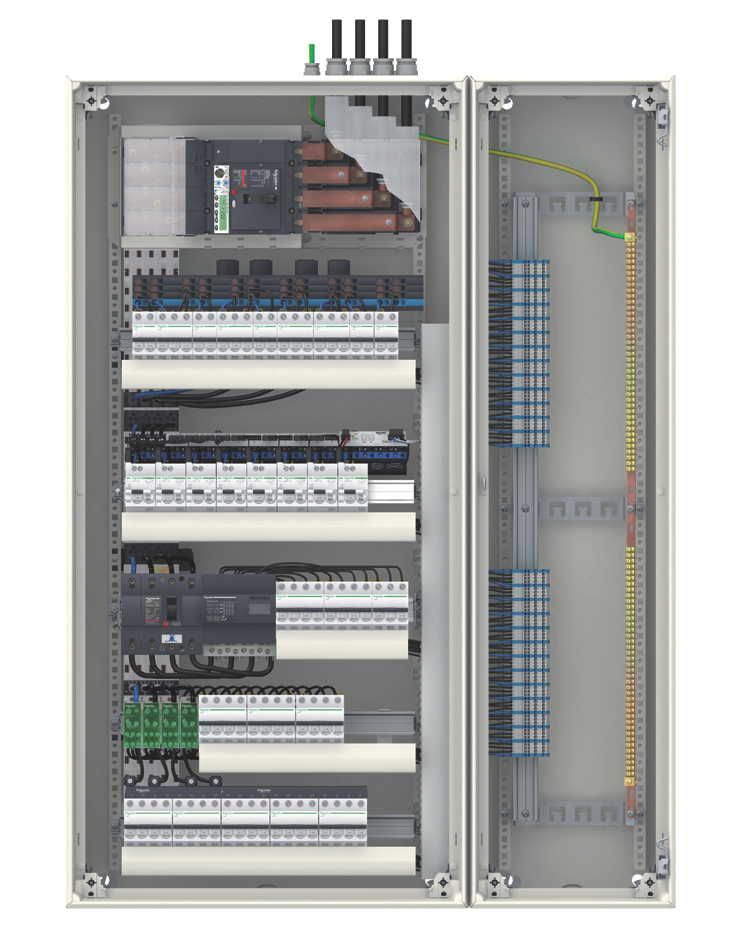
Step 6: Install the Circuit Breaker
- Install the Breaker: Attach the circuit breaker in the service panel. Connect the hot wire to the breaker and the neutral wire to the neutral bus bar.
- Grounding: Make sure the ground wire is connected to the grounding bus bar.
Step 7: Secure and Test the Wiring
- Secure the Wires: Use cable clamps, straps, or conduit fittings to secure the wires to walls or ceiling studs.
- Test the Circuit: Once the wiring is complete, test the circuit using a circuit tester to make sure everything works as expected.
Step 8: Restore Power and Check for Proper Functioning
After double-checking the installation, turn the power back on and verify that all switches, outlets, and devices are functioning correctly.